
Mywifiext-mywifiext login
Want to set up or fix issues with your Netgear WiFi range extender using Mywifiext? Check the links below for instant assistance.
What is Mywifiext?
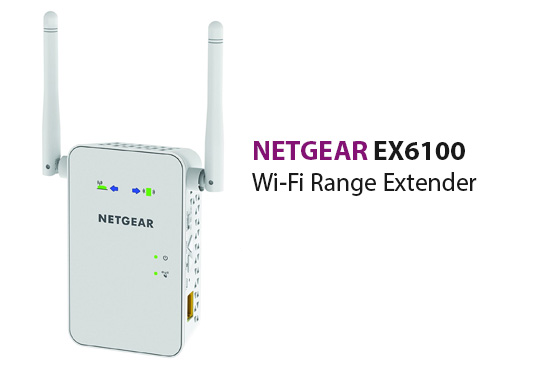
Mywifiext is a web-based portal designed specifically for Netgear Wi-Fi extenders. These devices are used to amplify the signal of your existing Wi-Fi network, extending the range and improving overall performance in areas where your router’s signal doesn’t reach.
The URL, mywifiext.net or mywifiext.com, is where users can access the configuration page of their Netgear Wi-Fi extender. By visiting this portal, users can set up their Wi-Fi extenders, update settings, manage connections, and troubleshoot issues.

Mywifiext Features and Functions
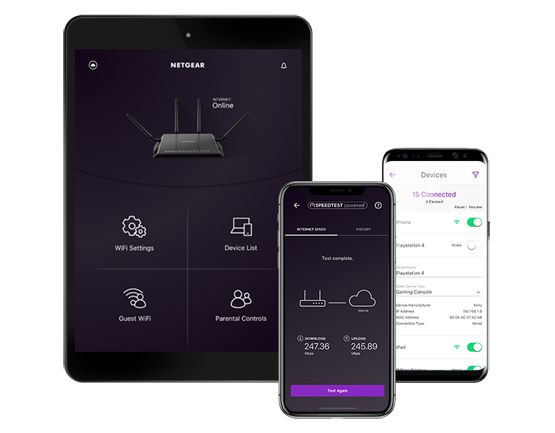
After setting up the Wi-Fi extender, you’ll want to understand the full range of features and settings that Mywifiext offers. The web portal allows you to control a variety of options for fine-tuning the performance of your extender.
Wi-Fi Range Extension
At its core, the primary function of the Wi-Fi extender is to extend the coverage area of your existing network. Once you connect the extender to your router, it picks up the Wi-Fi signal and amplifies it, creating a stronger signal in areas where your router’s signal couldn’t reach. The extender broadcasts a new Wi-Fi network, which can be named with a suffix like “_EXT” to distinguish it from the original network.
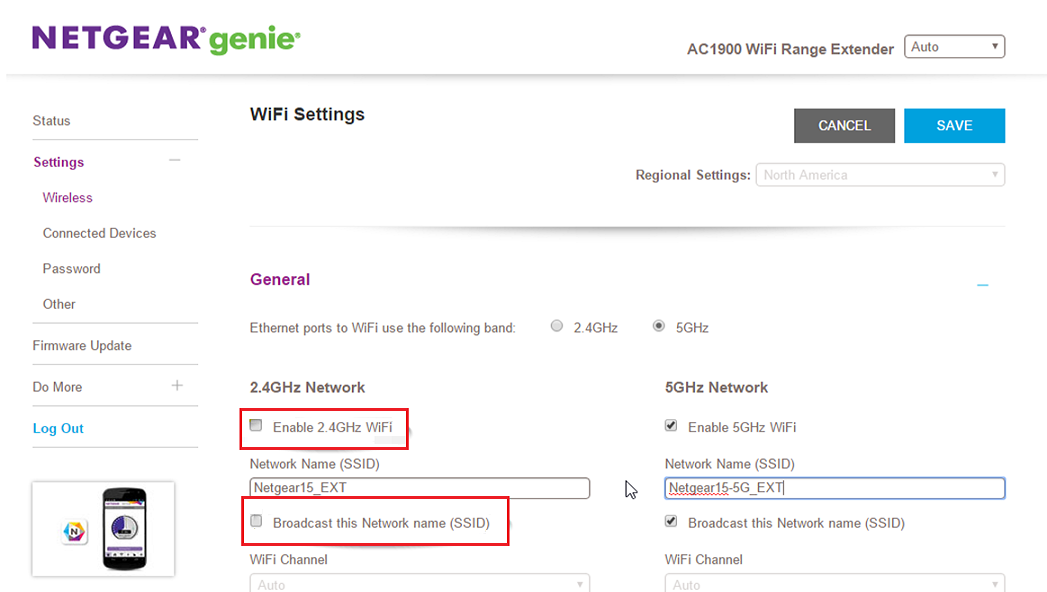
Dual-Band Support
Many of Netgear’s Wi-Fi extenders offer dual-band support, allowing them to operate on both the 2.4 GHz and 5 GHz frequencies. This feature is particularly useful for ensuring that high-bandwidth activities like video streaming or gaming receive a strong signal without interference.
• 2.4 GHz Band: Provides better coverage at longer distances, but can be more prone to interference from other devices like microwaves and baby monitors.
• 5 GHz Band: Offers faster speeds and less interference, but the signal doesn’t travel as far as 2.4 GHz.
The Mywifiext portal allows you to manage both bands and choose the best option for your needs.
Guest Network Setup
For security and privacy, you may want to set up a guest Wi-Fi network through your extender. This network allows visitors to access the internet without connecting directly to your main network. You can configure a guest network through the Mywifiext portal, choosing a unique name and password for the network.
Firmware Updates
Just like other networking devices, your Wi-Fi extender needs regular updates to ensure it performs optimally. The Mywifiext portal makes it easy to check for firmware updates and install them when available. Keeping your device updated ensures you have the latest features and security patches.
Signal Strength Indicator
One of the most useful features in Mywifiext is the signal strength indicator. It allows you to see how strong the Wi-Fi signal is between your router and the extender, helping you find the best location for optimal coverage. A good signal strength should be at least 60% for reliable performance.
Security Settings
Security is a top concern when setting up any network device. Through the Mywifiext portal, you can modify the security settings of your Wi-Fi extender. Netgear extenders generally support the latest encryption standards like WPA2 and WPA3, which are important for protecting your Wi-Fi network from unauthorized access.
Resetting the Extender
If you encounter issues with the extender or need to start over with the configuration, the Mywifiext portal provides an option to reset the device to factory settings. Alternatively, you can press the reset button located on the extender itself for a hardware reset.
How Do MYWIFI Extenders Work?
MYWIFI extenders act as a bridge between your Wi-Fi router and the areas where the signal is weak. Here’s a simplified explanation of how they work:
- Signal Reception: The extender captures the Wi-Fi signal from your existing router.
- Signal Amplification: It boosts the strength of the received signal.
- Signal Transmission: The extender rebroadcasts the amplified signal, extending the Wi-Fi coverage area.
By placing the extender in an appropriate location, you can have the whole house or office experience better connectivity.
Recent Products
-
Wifi Range Extenders
WiFi Range Extenders EX6120
Rated 0 out of 5$129.99Original price was: $129.99.$99.99Current price is: $99.99. -
Uncategorized
WiFi Range Extenders EX6250
Rated 0 out of 5$129.99Original price was: $129.99.$99.99Current price is: $99.99. -
Wifi Range Extenders
Wifi Range Extenders EAX15
Rated 0 out of 5$129.99Original price was: $129.99.$99.99Current price is: $99.99.
Types of MYWIFI Extenders
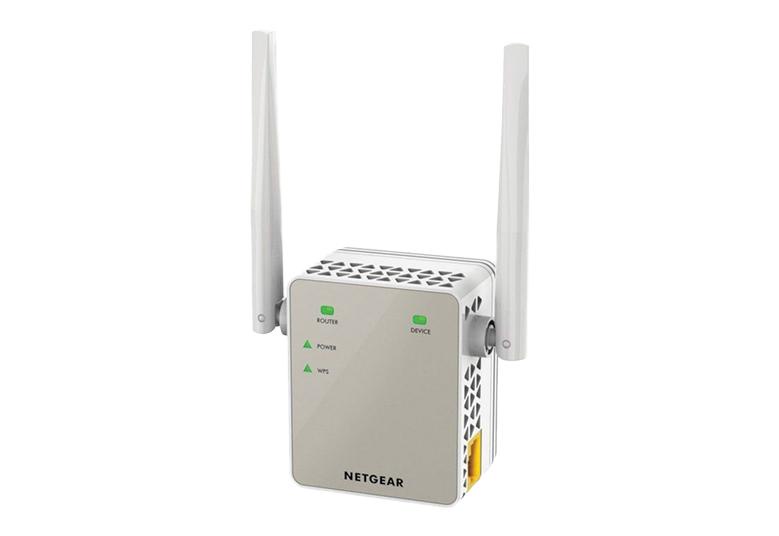
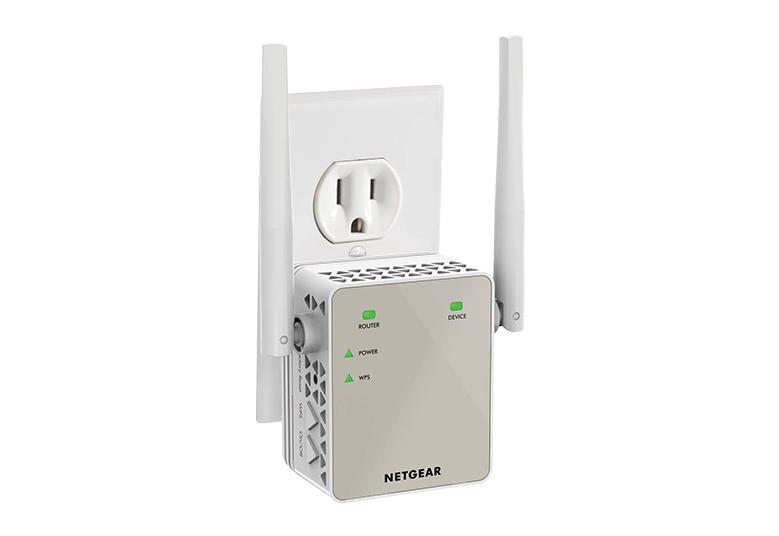
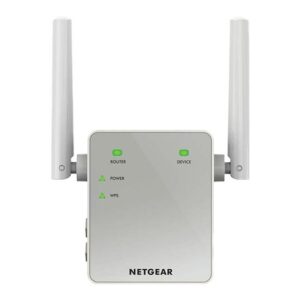
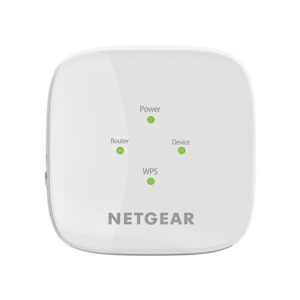
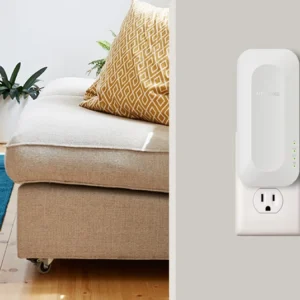
- Plug-In Extenders
These are compact devices that are plugged directly into a power outlet. They are ideal for people who want to have a mess-free solution and are suitable for small spaces.
- Desktop Extenders
Larger and stronger, desktop extenders sit on a flat surface and often come with additional features, such as Ethernet ports for wired connections.
- Dual-Band Extenders
The extenders run on both the 2.4 GHz and 5 GHz bands, delivering faster speeds with less interference.
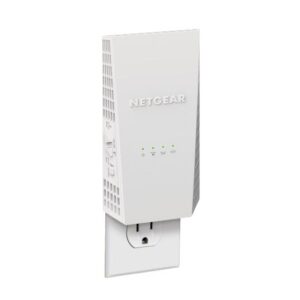
- Mesh Wi-Fi Systems
Mesh Wi-Fi systems are recommended for larger homes or offices, providing wide coverage by making use of several devices that work in tandem to establish a seamless network.
- Eliminates WiFi Dead Zones: No more dead zones in your home or office. Get a strong signal everywhere.
- Improves Internet Speed: Stream, game, and work online without lag or interruptions.
- Easy to Set Up: No technical knowledge required — just plug, connect, and go.
- Supports Multiple Devices: Enjoy strong WiFi connectivity for all your devices at once.
- Compact Design: Its small size means it fits into any power outlet without taking up too much space.
Setting Up Your Netgear Wi-Fi Extender via Mywifiext
The initial setup process for Netgear Wi-Fi extenders is simple. To get started, you’ll need to physically set up your extender, connect it to your network, and configure it using the Mywifiext portal. Here’s a step-by-step guide to setting up your Netgear Wi-Fi extender:
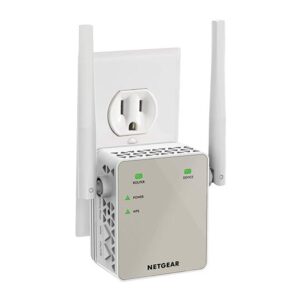
Step 1: Plug In Your Wi-Fi Extender
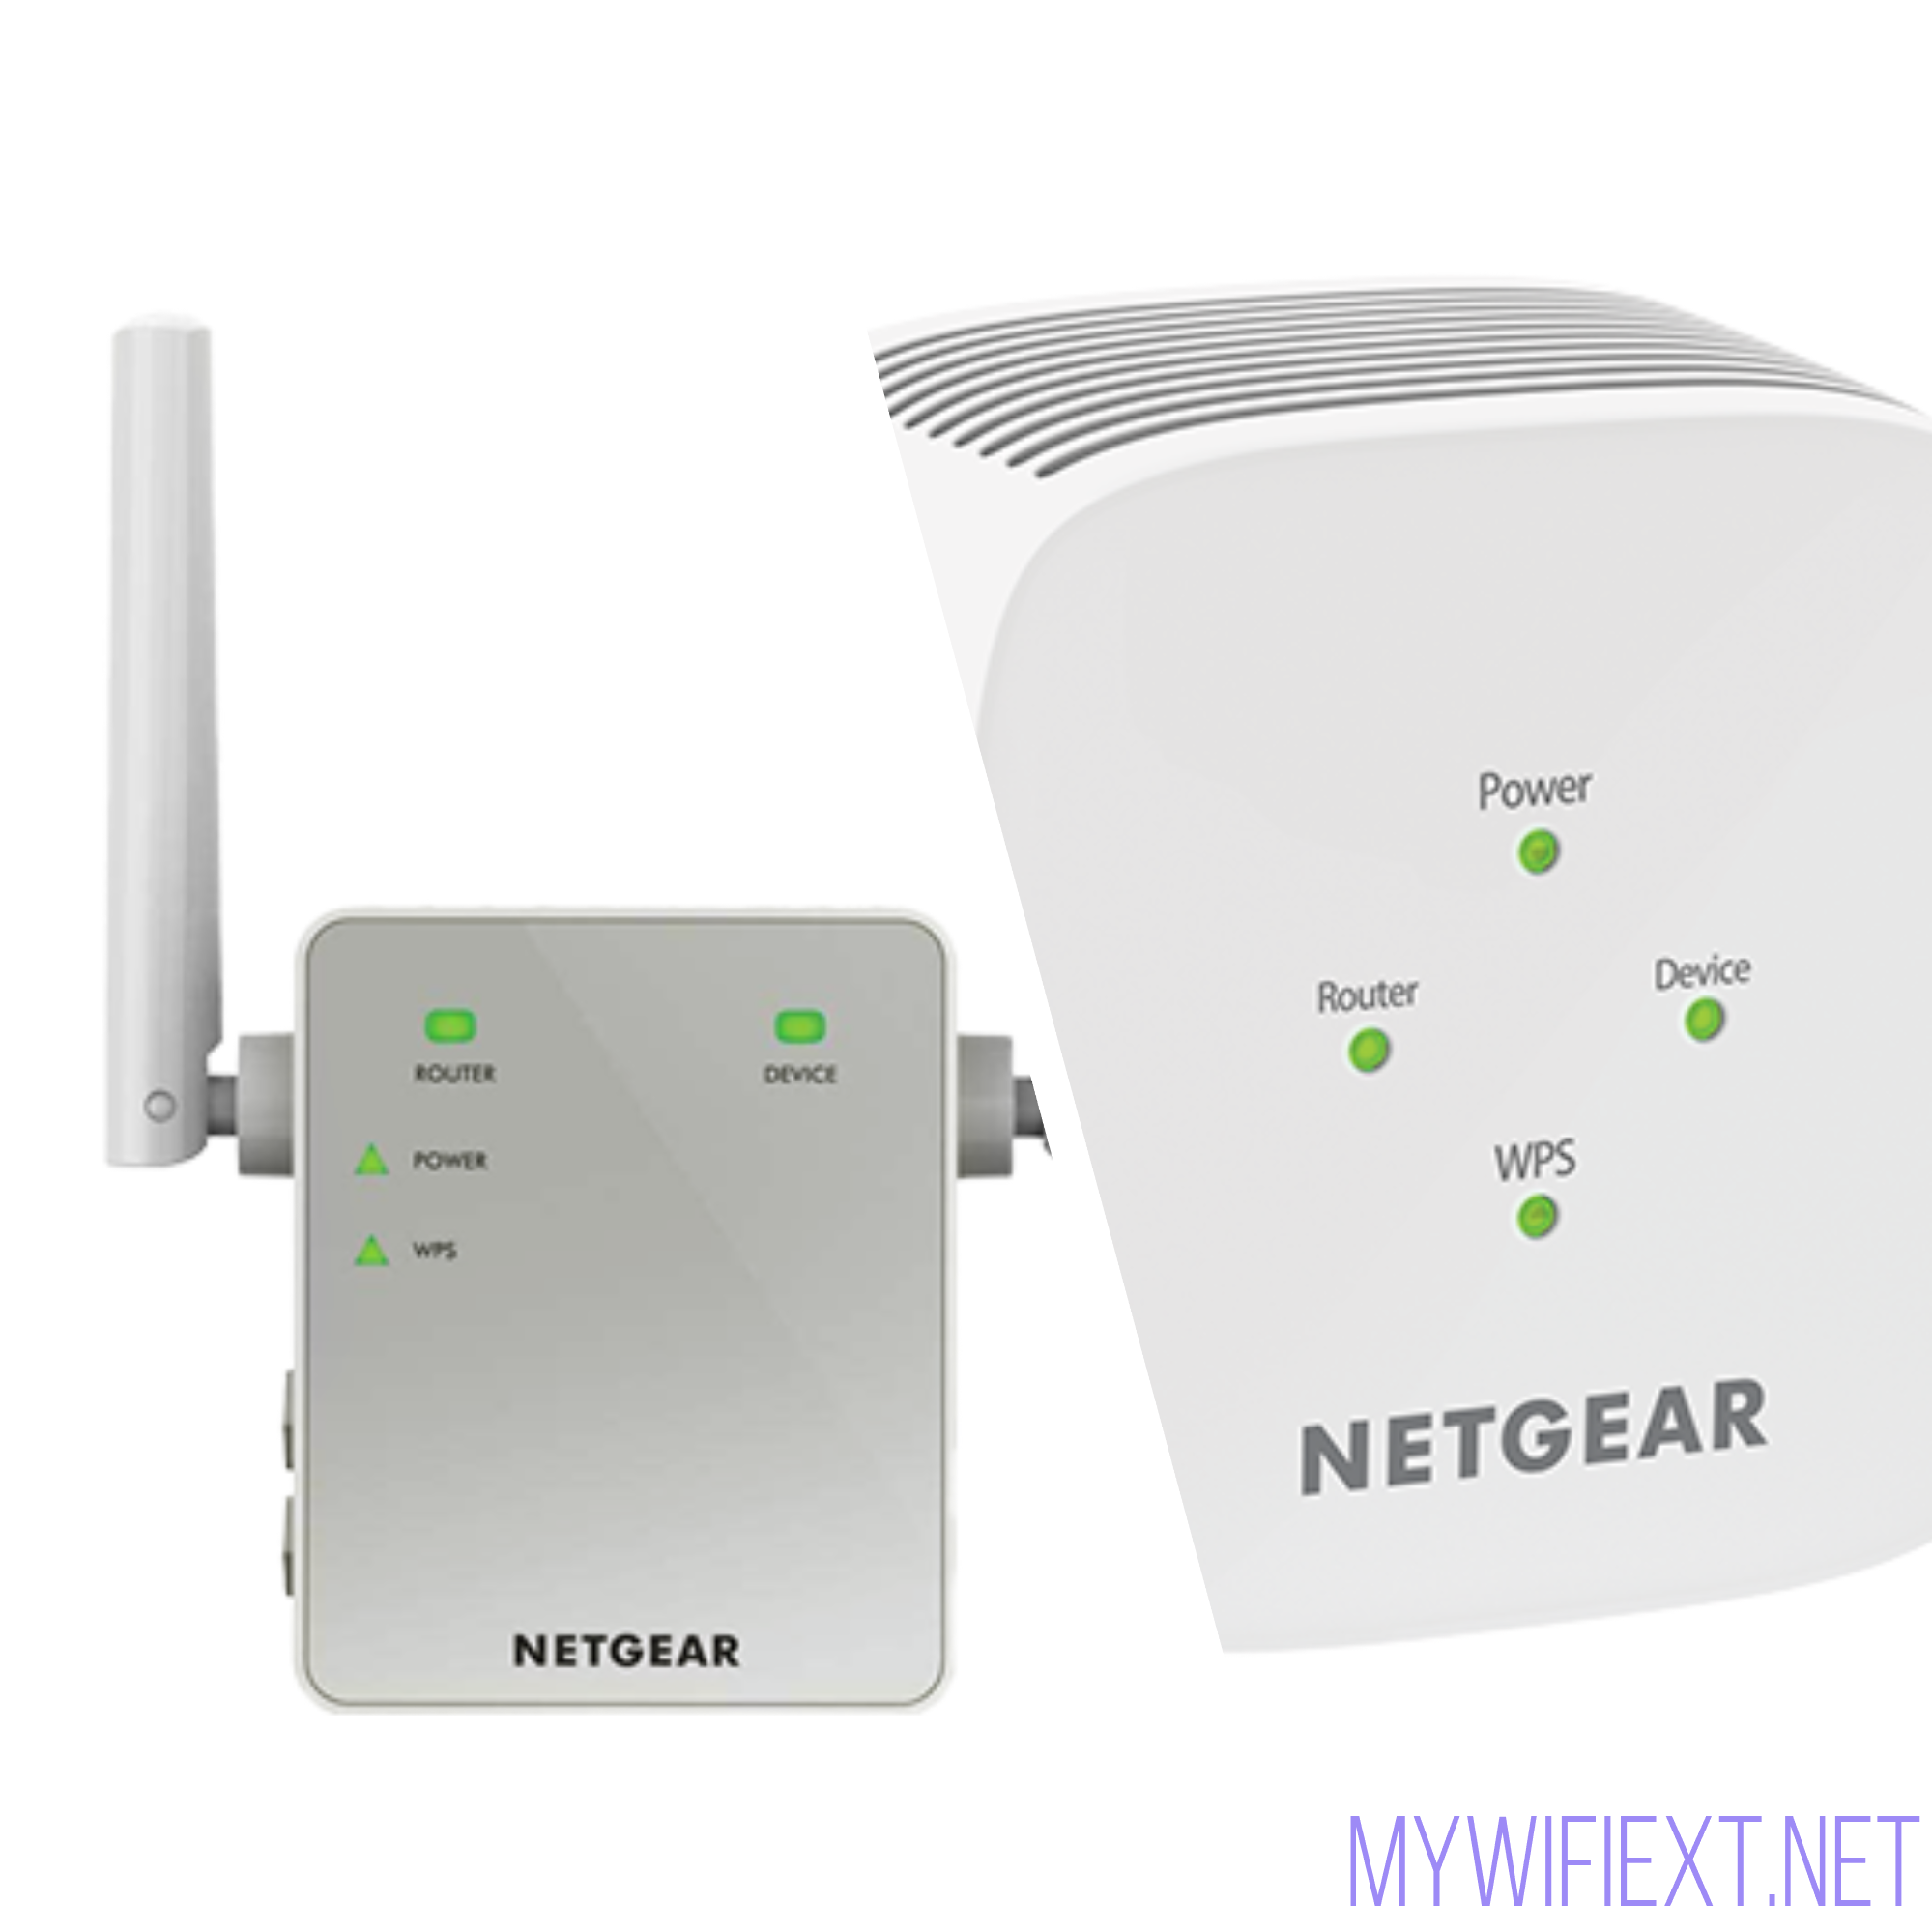
Start by plugging your Wi-Fi extender into a power outlet. For best results, place it halfway between your router and the area with weak or no Wi-Fi signal. Wait for the Power LED on the device to turn on, indicating that it’s receiving power.
Step 2: Connect to the Extender’s Network
Once the extender is powered on, it will broadcast its own Wi-Fi network. On your computer, smartphone, or tablet, open the Wi-Fi settings and search for the available Wi-Fi networks. You should see a network named something like NETGEAR_EXT or a similar variant. Connect to this network using the default password, which is typically found on the back or bottom of the device (it is usually labeled as the “Wi-Fi Password” or “Security Key”).
Step 3: Access the Mywifiext Portal
After connecting to the extender’s network, open a web browser and type mywifiext.net or mywifiext.com into the address bar. Both URLs will redirect to the same configuration page. This page is where you can manage all the settings for your Wi-Fi extender. If the login page doesn’t load, try clearing your browser’s cache or ensure that you’re connected to the extender’s Wi-Fi network. You can also try using the IP address if the website is unresponsive.

Step 4: Login to the Extender
You’ll be prompted to log in. For most models, the default login credentials are:
• Username: admin
• Password: password
These details are provided in the user manual that comes with the extender, and they can be changed later for added security.
Step 5: Set Up the Extender
Once logged in, the setup wizard will guide you through the process of connecting the extender to your existing Wi-Fi network. The extender will scan for available Wi-Fi networks in range. Select your router's Wi-Fi network and enter the Wi-Fi password to establish the connection.
Once connected, the extender will begin amplifying your router’s signal. You may need to reposition the extender to find the optimal location, but once the extender is set up, the extended Wi-Fi network should show up on your devices.
Smart Device Compatibility
The need for constant and stable Wi-Fi coverage has increased in tandem with homes becoming smarter through more IoT devices. MYWIFI extenders ensure that all your smart devices like voice assistants, smart lights, thermostats, security cameras, and more will stay connected seamlessly. Without strong Wi-Fi, these devices will have delays or stop working altogether. For instance, a security camera placed outside your home or a smart doorbell at the far end of your house will greatly benefit from the increased signal strength that a MYWIFI extender can provide. By eliminating dead zones, these extenders ensure that your smart home operates smoothly, providing convenience and security without interruptions.
Troubleshooting Mywifiext and Netgear Extender Issues
Unable to Access the Mywifiext Portal
If you cannot access the Mywifiext portal, try the following:
- Ensure that you are connected to the extender’s Wi-Fi network, not your router’s.
- Clear your browser cache or try a different browser.
- Use the default IP address instead of mywifiext.net.
- Try restarting both the extender and your router.
Extender Not Connecting to Wi-Fi
If your extender is not connecting to your router’s Wi-Fi:
- Double-check that the Wi-Fi password you entered is correct.
- Move the extender closer to your router and ensure there are no large obstacles like walls or metal objects between them.
- Ensure that your router’s Wi-Fi network is not set to a mode incompatible with the extender (e.g., 5 GHz-only networks may not be supported by older extenders).
Slow or Unstable Wi-Fi Speeds
If your extended Wi-Fi network is slow or unstable, consider the following:
- Check the signal strength from the router to the extender and ensure that it’s strong enough (above 60%).
- Move the extender to a better location to avoid interference or weak signal reception.
- Ensure that there are no other devices that could be causing Wi-Fi congestion, such as a large number of devices connected to the extender.
Interference from Other Networks
Wi-Fi extenders can experience interference from nearby networks, especially if many networks are using the same channel. You can change the Wi-Fi channel on your extender through the Mywifiext portal, or use the auto-channel feature to let the extender select the best channel.
Summary
Mywifiext is an essential tool for anyone using a Netgear Wi-Fi extender. The web portal provides an intuitive interface for setup, configuration, and troubleshooting, making it easy to extend your Wi-Fi network’s coverage. By following the steps outlined in this guide, you can optimize your network, enjoy faster speeds, and eliminate dead zones in your home or office. Whether you’re a beginner or a seasoned tech user, Mywifiext offers the control and flexibility you need to enhance your Wi-Fi experience.

Frequently asked questions
WPS’s primary goal is to protect your home or workplace network. Users can set up their Netgear extenders without an installation CD by using this method. You don’t have to manually enter the login and passcode to connect to a WiFi secured setup. Contact our specialists if you experience any issues when utilising the WPS setup.
A central part of your home or business is the ideal placement for your extension. Make that the extender is situated inside the present WiFi router’s coverage area. Additionally, the device should be set a particular distance away from objects that cause interference, such as cordless phones, microwave ovens, mirrors, refrigerators, glasses, and similar gadgets.
On your computer, open a web browser and go to the mywifiext.net start page. To log in, type your username and password. Go to the area for associated devices and make a note of the name and IP address. Once finished, use this address to log in to your Nighthawk extender. You will now see the Netgear extender login page in its most basic form. Contact our professionals if you experience any difficulties logging into the Nighthawk extender.
The handbook that came with the extension purchase has the default mywifiext login information. Reset your extender to its factory default settings if you have modified the details and lost the passphrase. After that, you can log in to extenders using the standard username and password.